チラシにマル得マークがあれば、すごく目を引きますよね。また、文書の押印欄に印鑑マークを入れると、ワードのプロ! と尊敬されたりします。この2つに共通するのは、どちらも文字を囲むテクニックでできるという点です。今回は、文字の囲みワザをご紹介します。
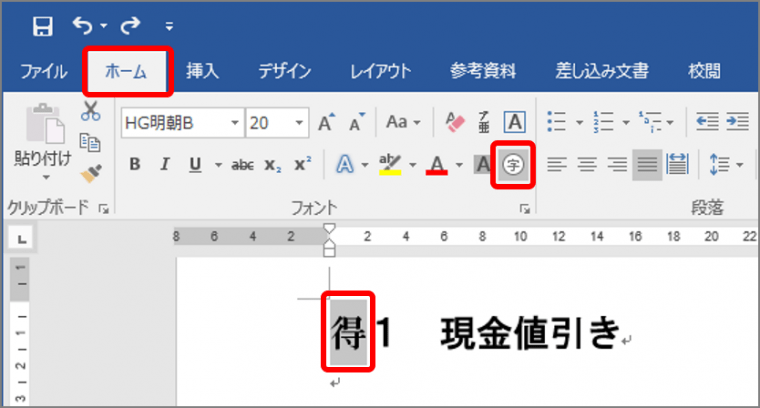
「囲い文字」で文字を囲む
囲い文字では、全角1文字を丸や四角、三角、ひし形で囲むことができます。半角なら2文字まで囲めます。
「囲い文字」画面が表示されます。
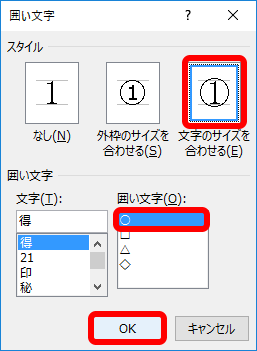
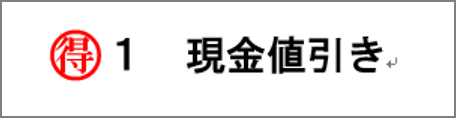
囲い文字が表示されます。
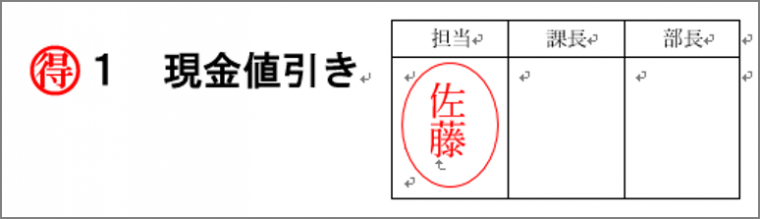
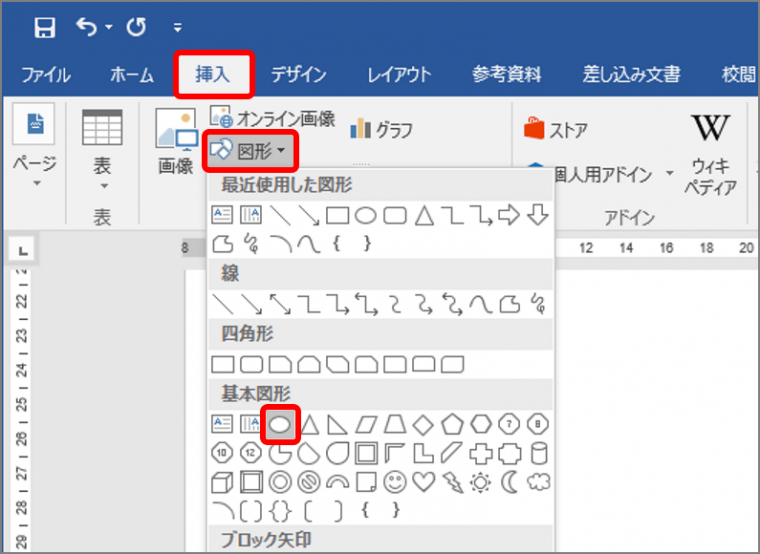
図形で囲み文字を作る
図形で囲み文字を作るには、円や四角形を描き、文字を入力します。色は塗りつぶしの色で、線は線の色で指定します。文字の位置は、左インデントや行間隔で調整しましょう。
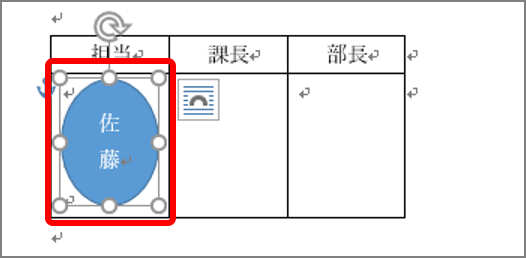
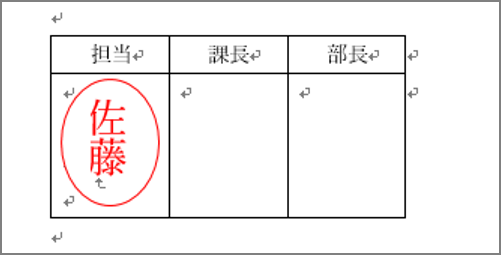
円の色は「図形の塗りつぶし」の「▼」ボタンから「白」などを、線の色は「図形の枠線」から赤などを選択します。文字の位置は、「段落」画面で「左インデント」を-0.5ptなどと指定し、「行間」で「固定値」を、「間隔」で行間隔を指定します。
文字を囲むテクニック、いかがでしょうか? 慣れればとっても簡単なので、ぜひお試しください。