Googleカレンダーに予定を書き込む際には、ビジネスとプライベートのイベントを分けて表示すると便利です。クリック一つで片方を非表示にすることも可能。ぜひ、使い方を覚えておきましょう。
カレンダーを登録する
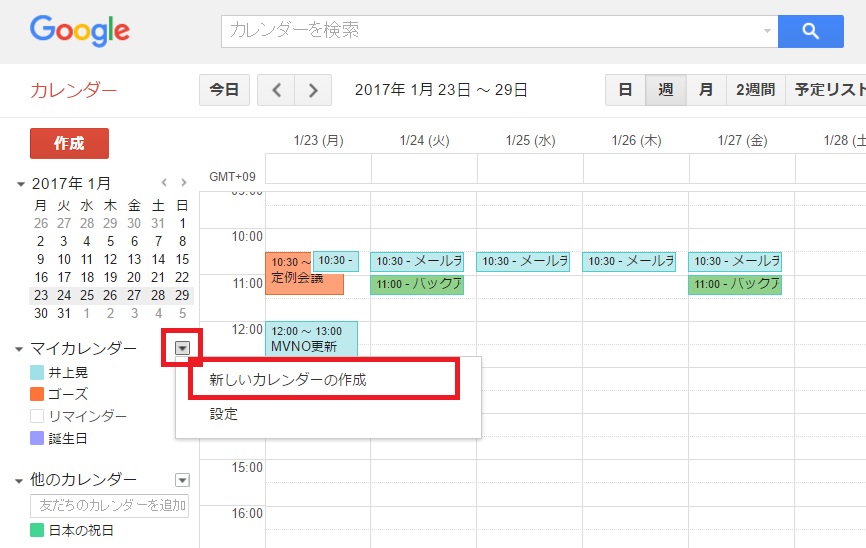
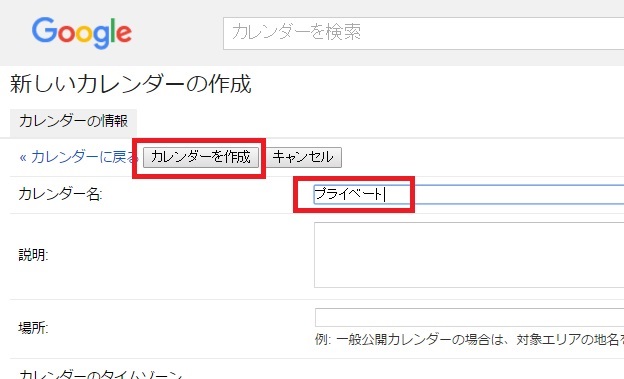
まず、カレンダーを新規作成しましょう。
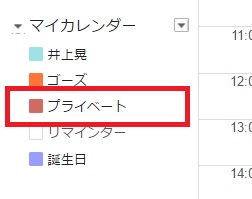
これで準備は完了です。
予定を登録する際にカレンダーを選択
予定を書き込む際に、カレンダーの欄をクリックします。

以降、プライベート用の予定は同様の手順で登録しておきます。マイカレンダーの一覧から、カレンダー名をクリックすると、それぞれの表示のオン・オフが切り替えられるという仕組みです。